
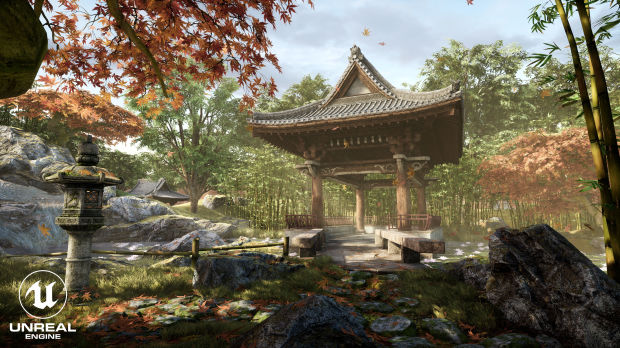
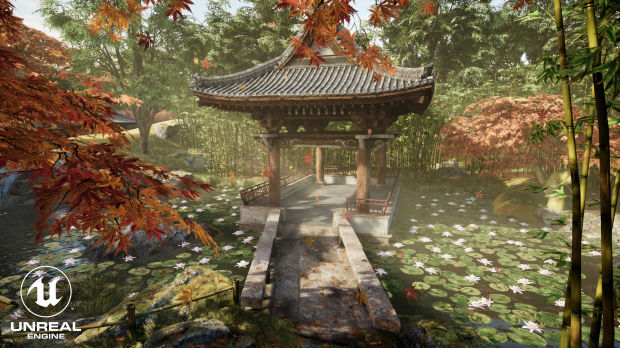
Nick Jackson did a breakdown of his UE4 scene Japanese Gazebo discussing the pre-production stage, workflows for hero prop, rocks, vegetation, and more.
Introduction
My name is Nick Jackson and I am currently a Senior 3D Environment Artist working for Zenimax Online Studios. I grew up playing video games and at the beginning of high school, I started getting curious about how video games were made. I downloaded this free 3D software called Anim8or. At the time it was a basic 3D modeling package and it got me started in the 3D world.
As I continued self-learning, I came across Gmax. It was basically a stripped-down, free version of 3ds max. This was the steppingstone for really understanding modeling, topology, and the basic workflow for 3D modeling. From that point on, I knew that I wanted to pursue becoming an artist in the video game industry.
Career
After graduating from high school, I attended The Art Institute of Atlanta. I earned my BFA degree and eventually found work as a freelance artist. After a few months of working a part-time job and freelance, I managed to get a job in Syracuse, New York, as a Junior Environment artist for Lake Effect Applications. I was there for a little over two years before I got a job offer from Sledgehammer Games as a contract 3D Environment Artist.
I was extremely intimidated during my first few months of working at Sledgehammer Games. I felt so fortunate to be working with some of the best talent in the industry! I worked on COD Advanced Warfare for the last 3-4 months or so of production, plus a year on DLC. I spent the next 3 years working on COD WW2 MP maps and eventually moved up to Mid-level Environment Artist. Working at Sledgehammer taught me a lot about the process of working on AAA games. I learned so much and am extremely thankful for my time working there.
After working at Sledgehammer Games for about 5 years, I decided it was time for a change and moved to Maryland. It is at Zenimax where I worked on a lot of props and texture work for The Elder Scrolls Online: Greymoor DLC. I feel that working at this company has really pushed me out of my comfort zone and has helped me become a better artist.
Japanese Gazebo: About the Scene
The Japanese Gazebo scene started out as a learning project while I was taking an online class through Ryan Kingslien's Artist Bootcamp. It was about a 4-month online course, and for me, it was meant as a refresher on how to use UE4 and to update my skills with more up to date workflows. This was right around the time I was looking to transition to a new company, as I felt the need to work on something new and fresh, in order to continue my growth as an artist.
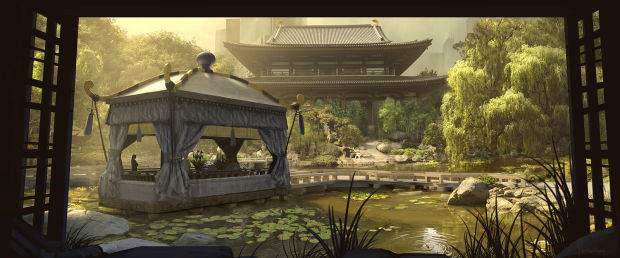
I loosely based my environment on this concept work from Wayne Haag (shown above). My main goals were to get familiar with UE4, learn SpeedTree, improve my sculpting in ZBrush, and learn Substance Painter and Designer. Although I did not finish the environment by the end of the class, I continued to work on it throughout the next year during my free time. I continued to polish and add some more details to fill out the scene. The one thing I think is really missing from it is a story. I feel like this is something that I should have allocated time for in the planning and blockout phase. I think if I were to come back to this, I would add some details in the middle of the gazebo, like a tea setup and a sitting area.
Pre-Planning
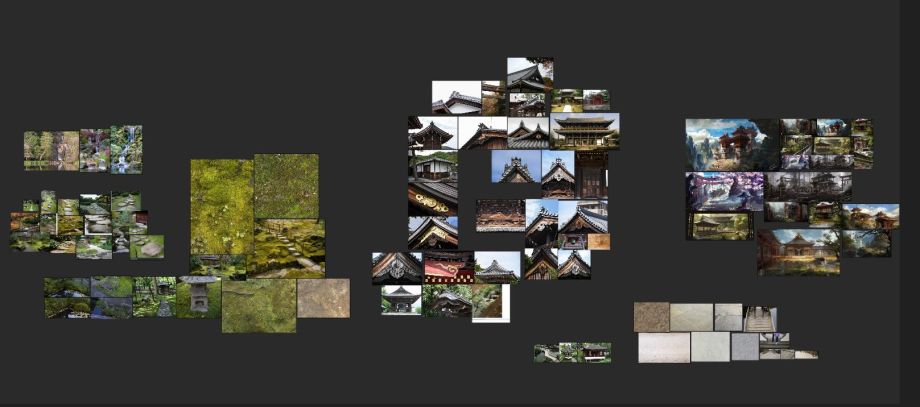
Once I found the concept from which I wanted to work, I started to gather references for the gazebo, foliage, and materials that I wanted to use for the environment. I used a reference program called PureRef. It is an excellent program for organizing ideas and references. There were many different gazebo designs out there and I decided to use Wayne Haag's concept for my main source of inspiration. Along with purchasing the JRO_JapanTraditional photo pack on Gumroad, I also went to a Japanese garden to gather references of my own.
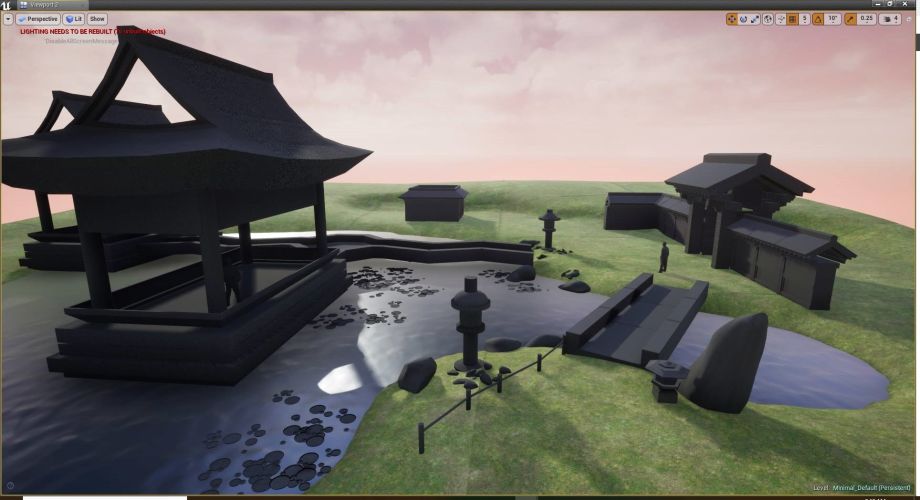
After I got the blockouts finished and in the game, my next goal was to start learning SpeedTree. Knowing that I needed a lot of foliage, I wanted to get into the software next. My plan was to learn SpeedTree and block in the Japanese Maple first. I thought that it would be a good first piece to learn the software package. I was not going for a fully completed model, but rather a temporary base mesh that I could place in the scene.
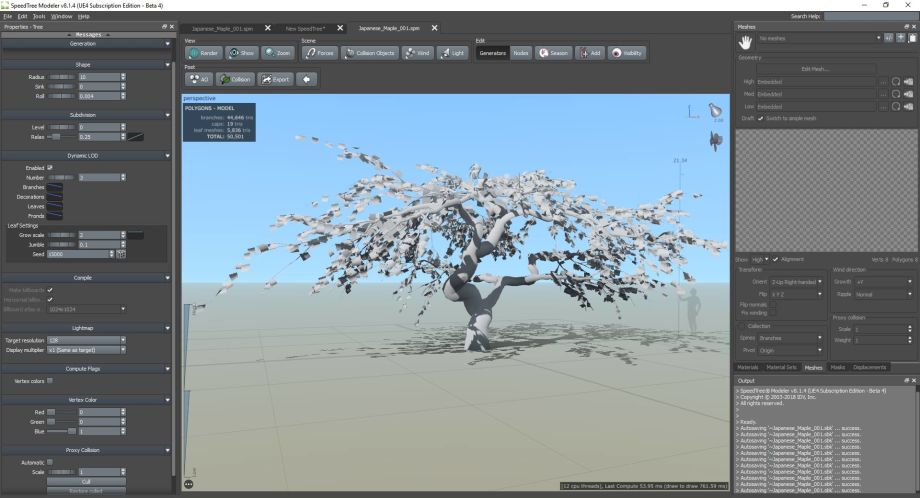
Something I learned while working at Sledgehammer Games is that it is better to finish the environment in stages and build everything up together at the same time. I would make some foliage, then work on the gazebo by making basic shapes and first pass at materials. Then I would hit the terrain and materials, followed by some rocks, etc. Once I got the first pass on all the pieces of the environment, I would go back through and add some more foliage, tweak old foliage, modify or change materials. If something looked like it was falling behind and had not had much attention, I would go back and work on that piece some more.
Gazebo
For the gazebo, my main goals were to make it modular and to use tiling textures and trim sheets. I organized my materials by material IDs inside of Maya.
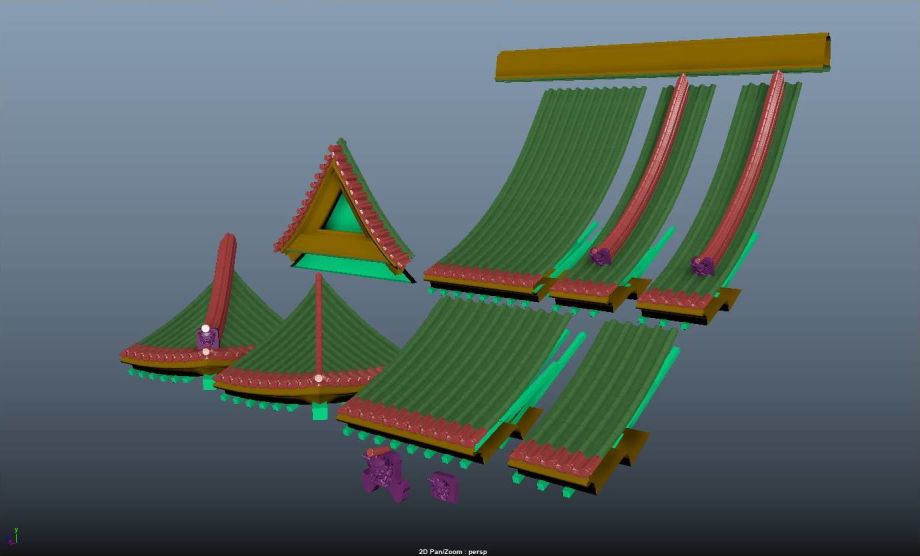
The roof was modeled in Maya and textured in Substance Painter. I used a tiling texture for the main roof tiles, and then a trim sheet for the perimeter of the roof and other pieces.
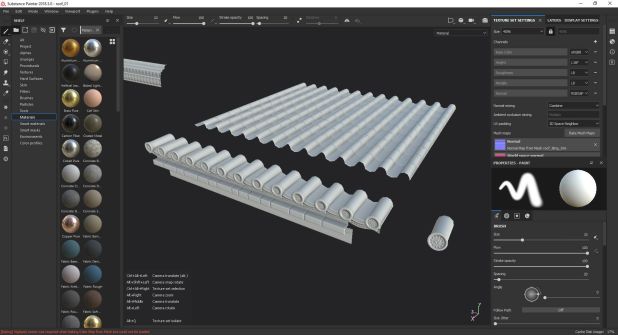
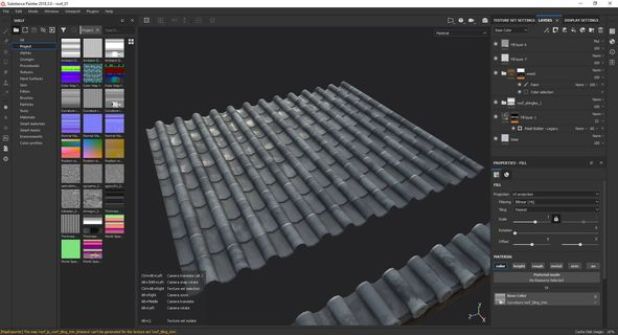
Towards the end of the project, these wood materials got updated as I learned more about Designer and tried different iterations. The materials below are what I ended up using.
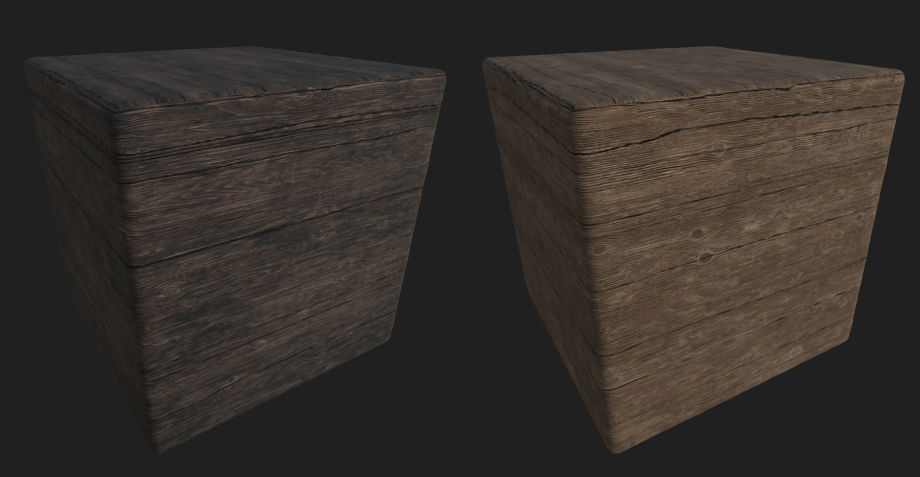
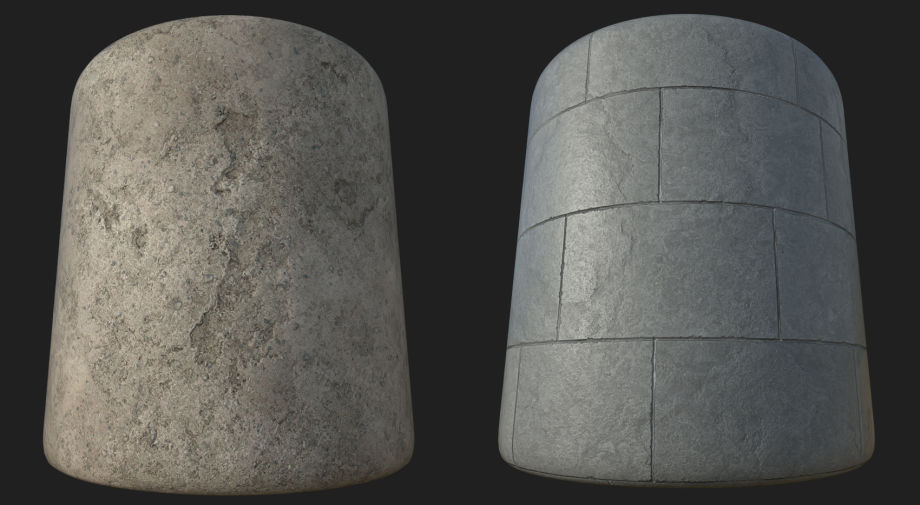
After I had the first pass on the gazebo finished and materials blocked in, I then went back and worked on the composition. The gazebo was a prefab in UE4. This allowed me to duplicate and move around the entire structure to find a composition that I was happy with. Of course, this changed as I continued to work on the scene.
Rocks
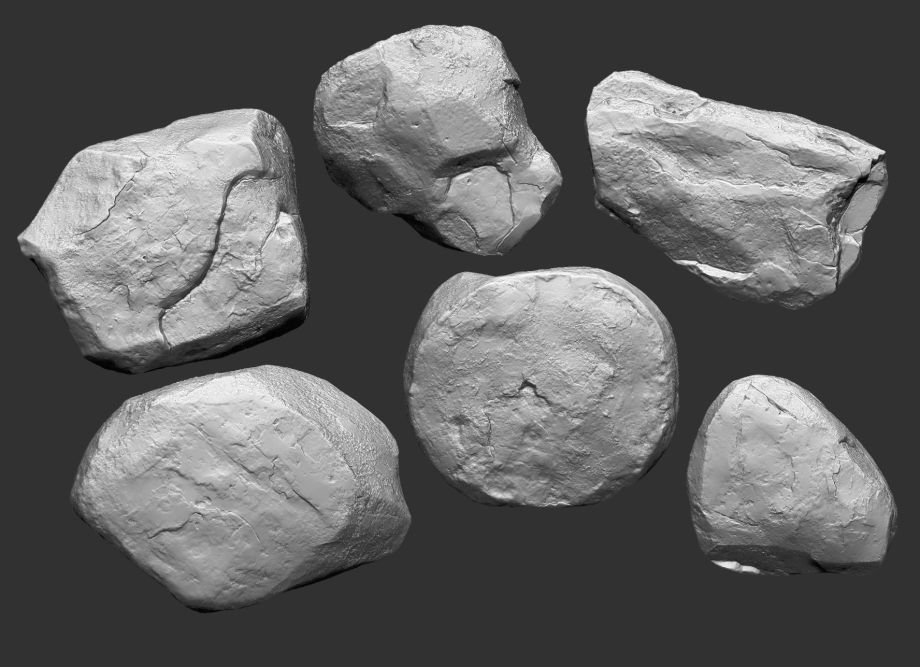
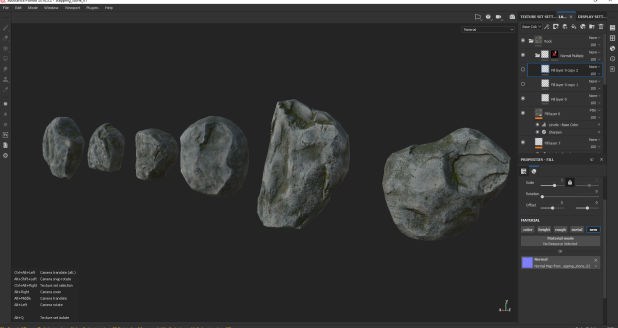
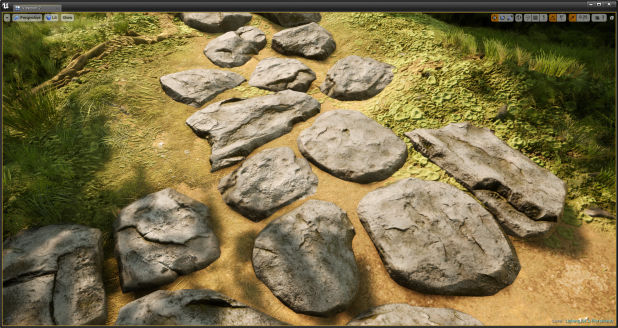
For the large rocks, I created two different variations with baked textures. These were sculpted in ZBrush and textured in Substance Painter.
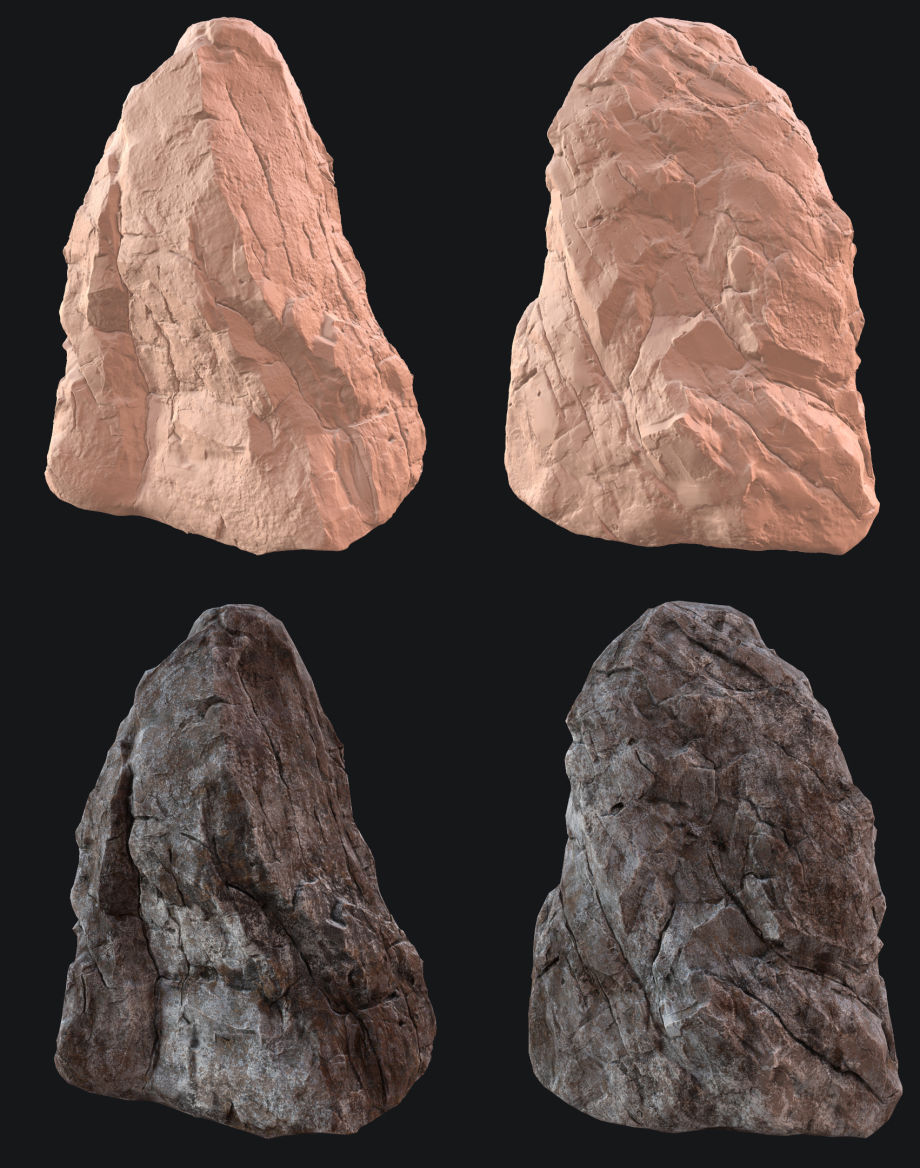
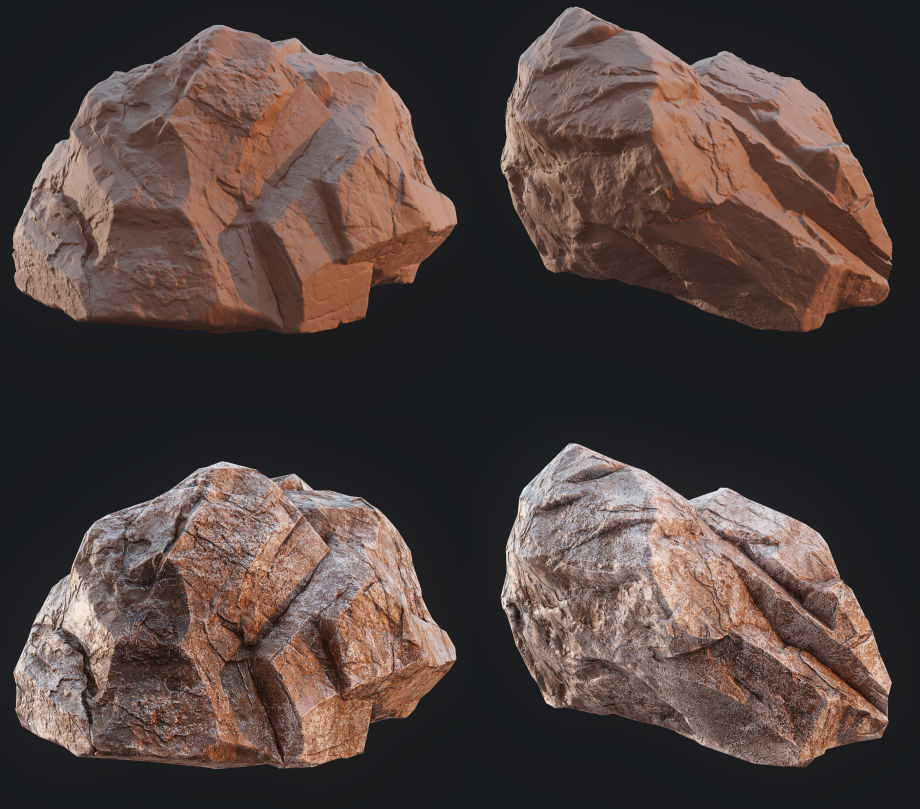
I then created a tiling, z-up moss shader (see the tutorial I used below) that could be painted using vertex colors so that I could control the intensity and placement of the moss.
The smaller rocks are also sculpted in ZBrush and textured in Substance Painter using the standard prop modeling workflow.
Terrain
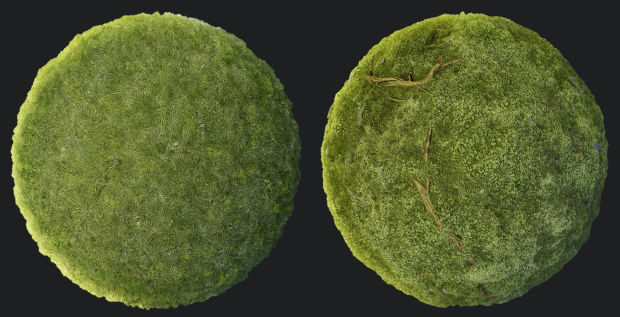
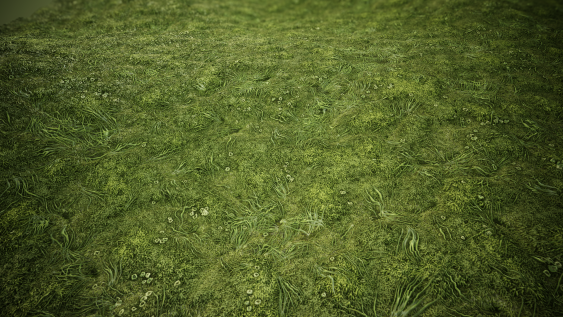
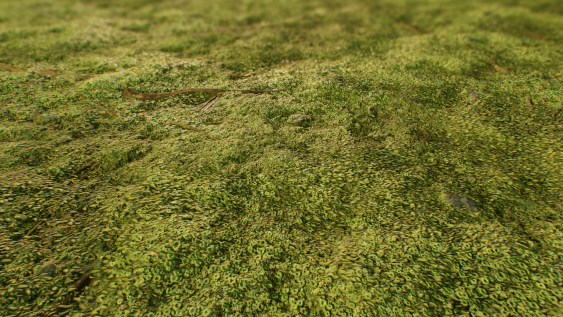
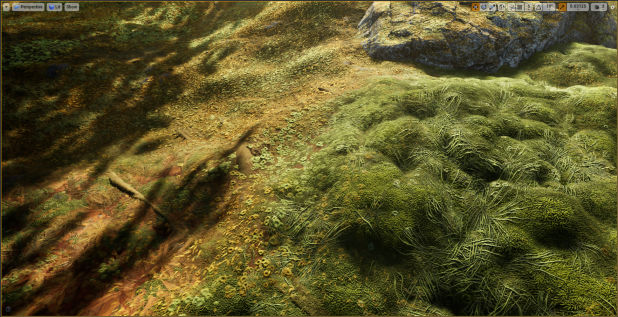
For the ground, I mostly used two tiling moss materials that I made in SD. The material supports displacement, fuzziness, and tiling as well as blending between a reveal map.
Vegetation
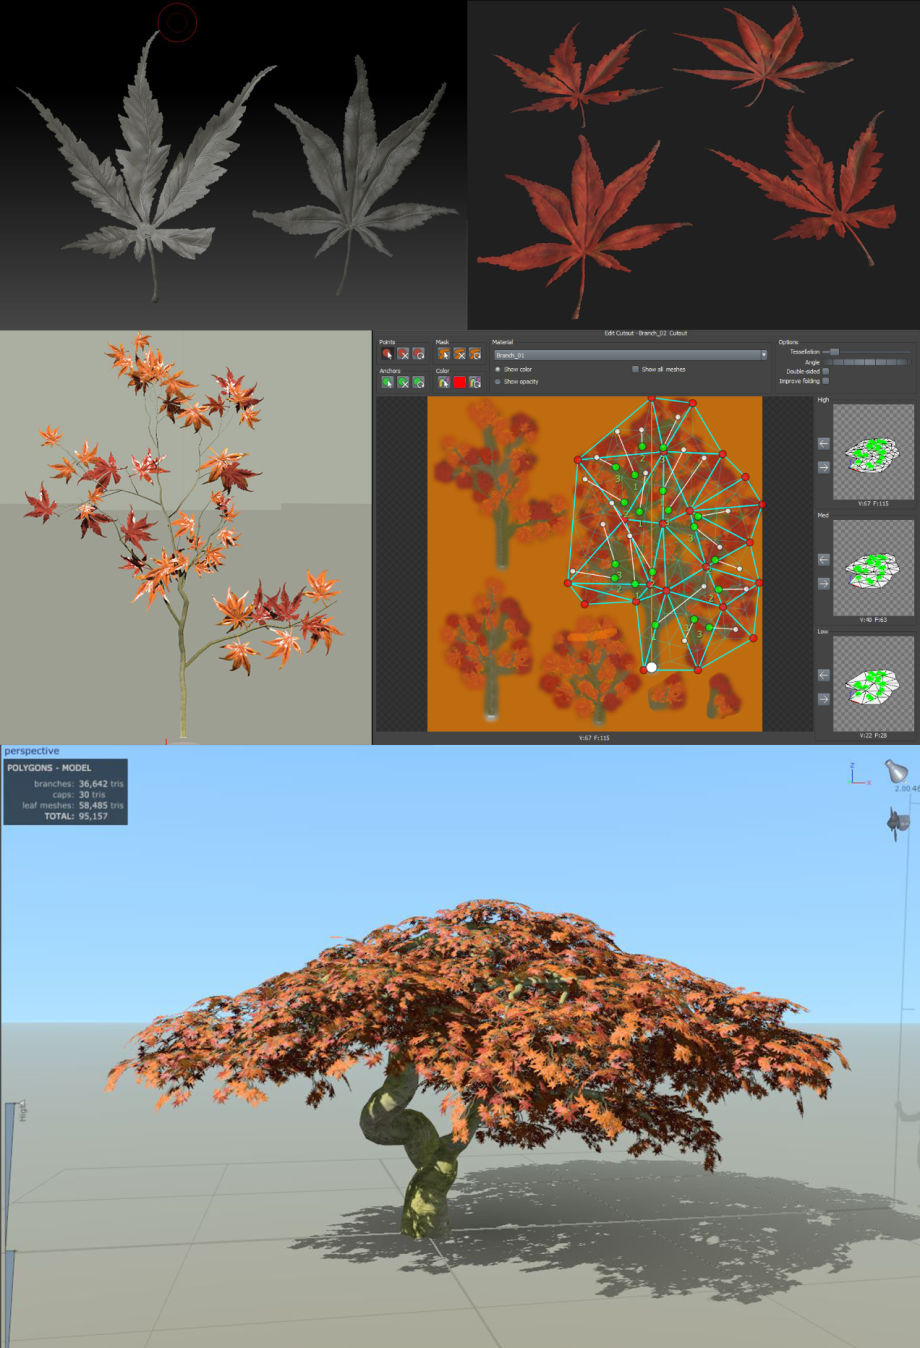
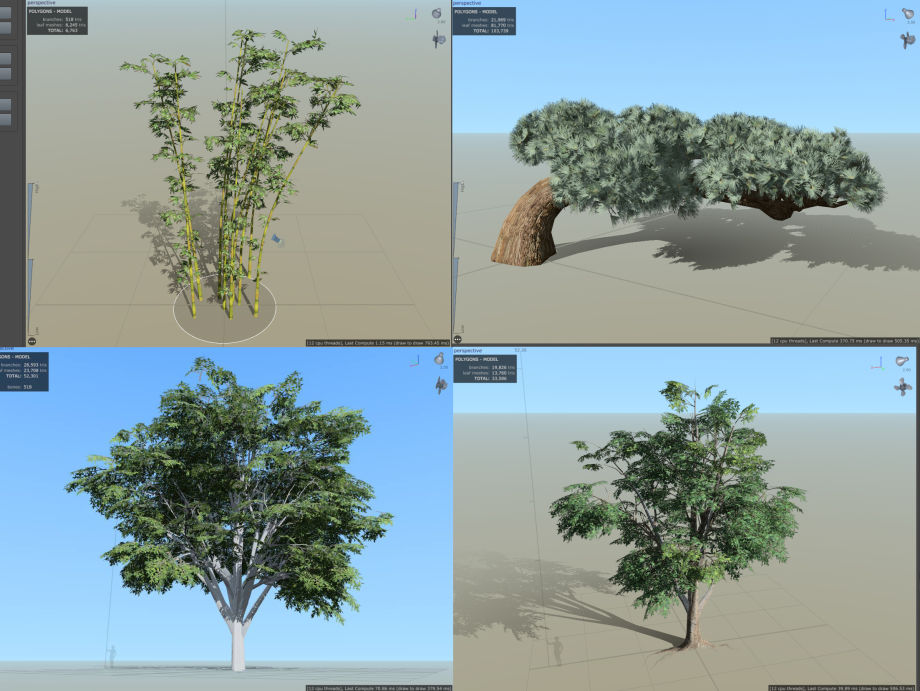
There was a lot of vegetation involved in this environment and I probably could have added some more. I spent a lot of time researching the kind of foliage that you can find in a Japanese garden and decided to make a few with varying difficulties so that I could get familiar with SpeedTree. My workflow mostly consisted of sculpting leaves in ZBrush. I would then bake out heightmaps, normal and AO to use in SD. Once I had the final textures made in SD, I would then use SpeedTree to build out the branches and render out branch cards with leaves. Those cards would then be used to build out the tree branches. I ended up using pretty much the default material setup that comes into UE4 when you import your SpeedTree file.

Lighting
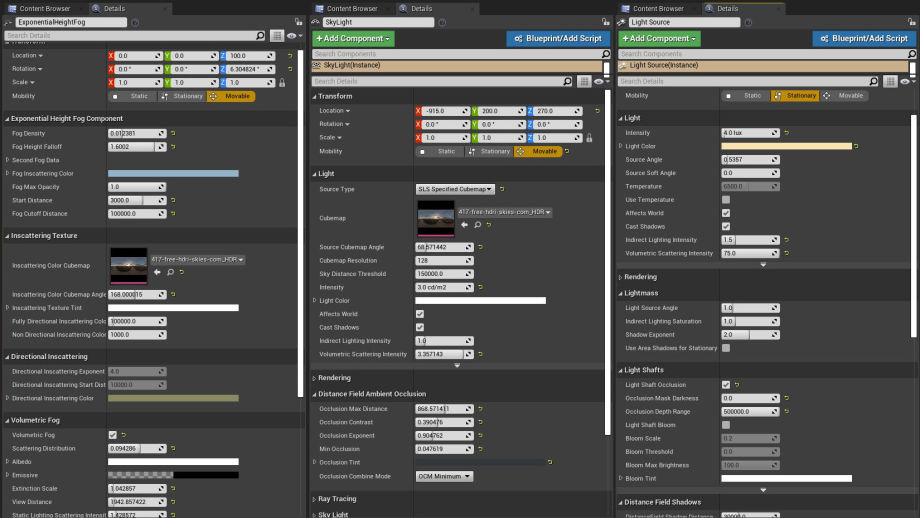
I ended up scraping off my original lighting setup and starting fresh once I wanted to make the final image. I used a new HDR image and really took advantage of Distance Field lighting to get the foliage to light correctly. Most of the props are using static baked lighting while the foliage is using dynamic lighting. I used 51 Daedalus's videos to help guide me through the lighting process and help me understand all the different light settings and common problems that you might run into. The UE4 masterclass lighting videos were also very helpful. I also added in some volumetric fog, which really helped to lighten up the shadows and add some nice atmosphere.
Lessons Learned
Planning. I really needed to plan more and spend more time on blockouts when I started this scene. It would have been beneficial to block out more detailed pieces of foliage, like the Japanese Maple blockout at the beginning of this article.
As I progressed through the production of this environment, I tried many different workflows as I learned new ones. In turn, that created many inconsistencies between files. For example, I decided about halfway through this project that I would create my tiling materials using RGB packing in Designer, and then unpack those channels inside of Unreal. What I did not account for was the fact that my current material pipeline did not use this method and treated each texture independently. This created a huge problem when I decided to update an older asset.
This frustrating process did have a silver lining, however, as I will be more efficient and consistent in my next project, and I cannot wait to start it. Thank you for reading!


0 comments:
Post a Comment